Can You Put Air Conditioning in an Old House?

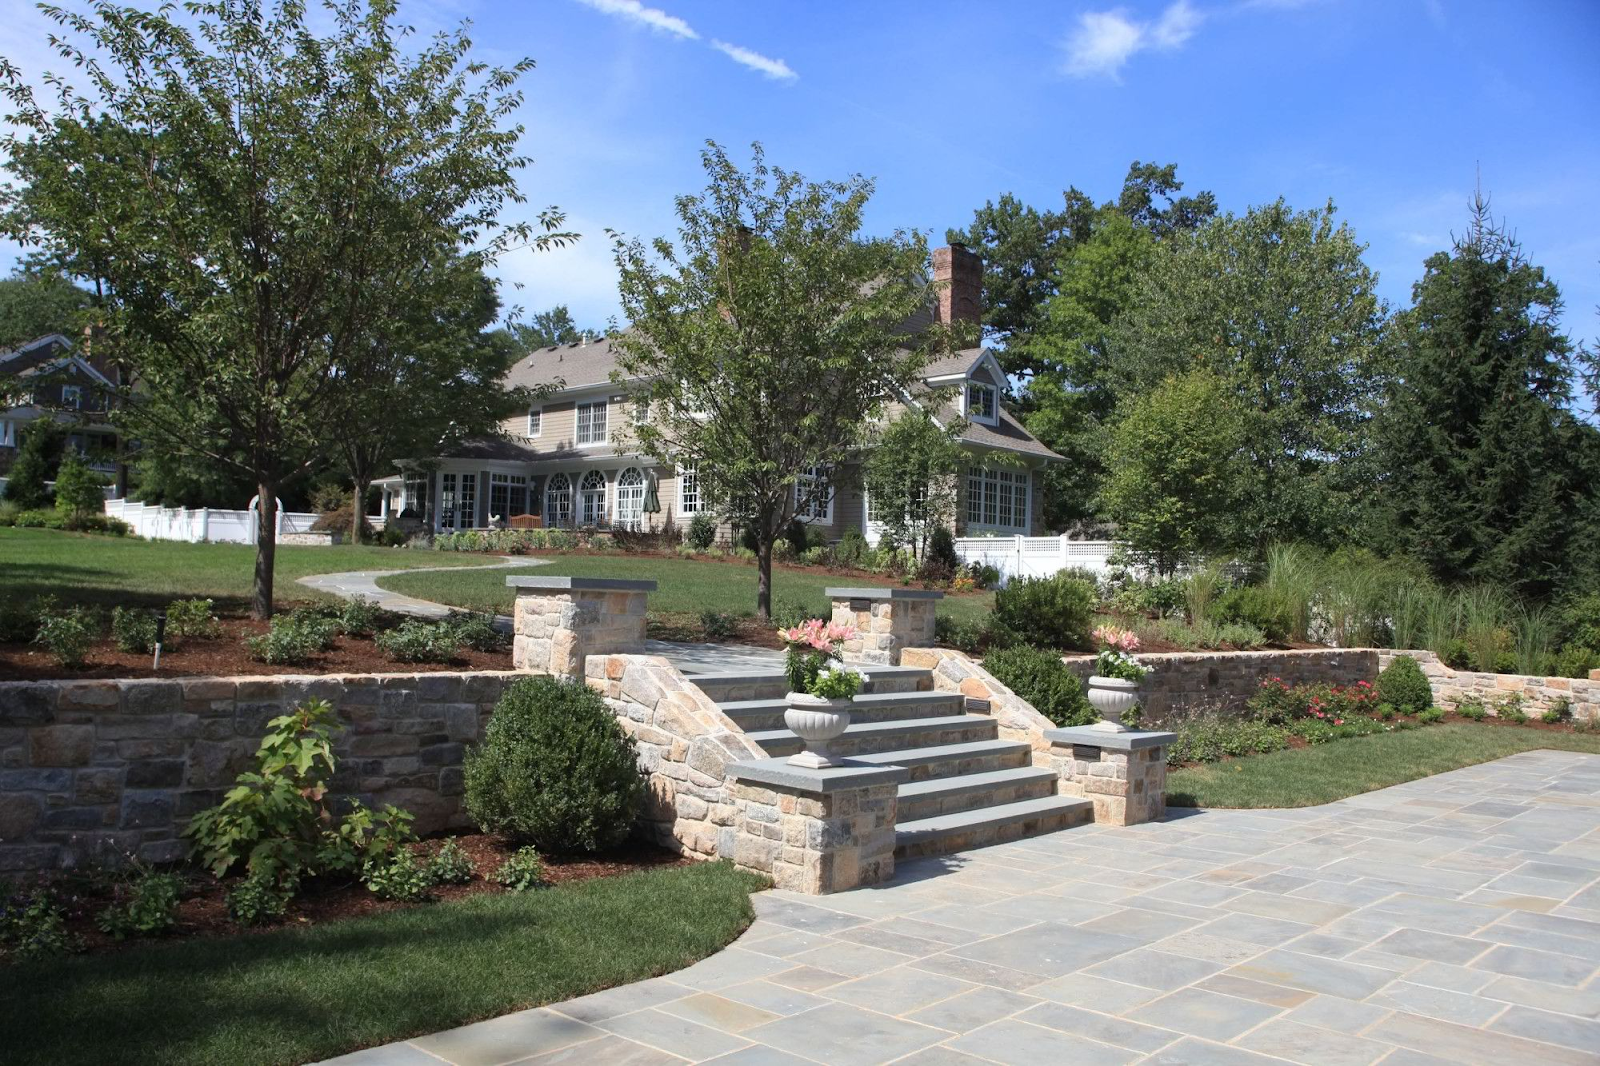
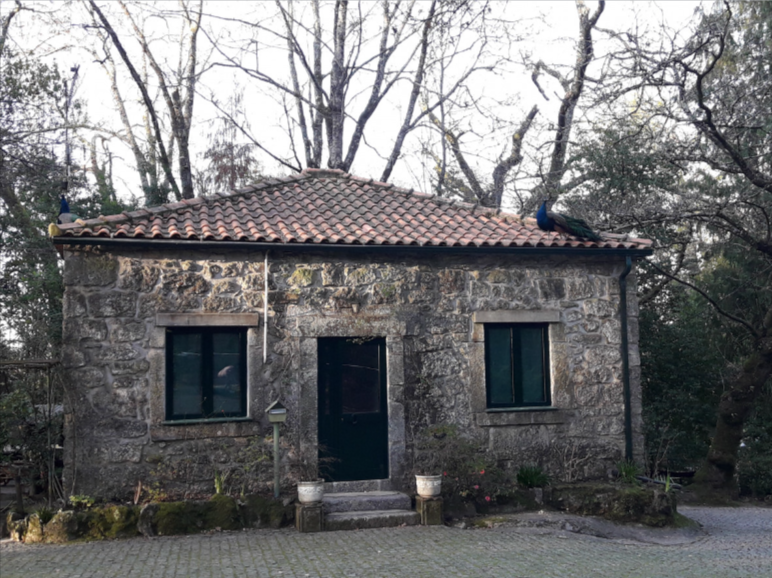
The answer to the question, “Can you put air conditioning in an old house?” depends on the type of old home. For example, some old homes have plaster walls that make it difficult to install ducts. These walls also require extensive cleaning after the installation. Another option is to add ducts through vents in closets and ceilings.

Adding air conditioning to an older home is relatively easy

The ductless system can be a great option for older homes that lack ductwork. This type of system pushes air throughout the house and is relatively quiet. It does, however, take up wall space and is more difficult to conceal. You can find a ductless system that works for your home by contacting an HVAC technician.

old house air conditioning

The first step in adding air conditioning to an older home is to determine the cooling capacity of the home. A contractor can run a computer program to determine the amount of air conditioning needed to maintain the indoor temperature. They can also take into account the structure of the building. Older houses often have some insulation in the attic but are not as insulated in the walls. Additionally, older houses may not have tight windows.

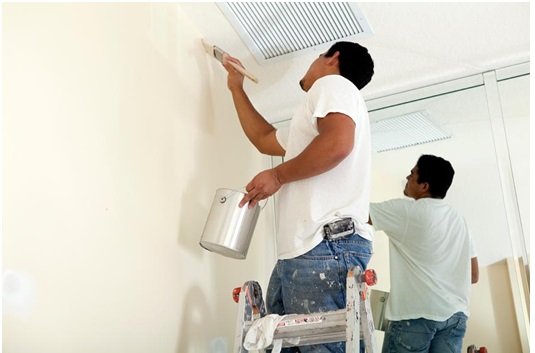
Another step to adding air conditioning to an older home is to upgrade the electrical system. Many older homes have outdated electrical systems that are unable to handle modern appliances. Faulty wiring can also cause house fires. If you’re concerned about safety, consider hiring a licensed electrician to guide you through the process.

It doesn’t require a lot of ductwork

Installing air conditioning in an old house may not seem like a big deal, but it is possible, and you don’t need a lot of ductwork to make your home cool. The first thing you’ll need to do is check whether your house already has ducts. If it does, you can repurpose them for your air conditioning system. Otherwise, you can opt for a zone-based ductless cooling system.

If you’re trying to install air conditioning in an old house, you’ll probably want to use a mini-split. These systems consist of an indoor air handler and an outdoor condenser unit. Both units attach to each other through a small hole in the wall. This system is easy to install and requires no ductwork.

The amount of ductwork you need to install air conditioning in an old house depends on the size of the house and the type of AC unit you buy. You may need to have the electrical system upgraded if your home doesn’t already have ductwork. Older homes often have faulty wiring that can cause fires. You should contact a local electrician to help you with the process.

It won’t damage the original plaster, woodwork, and floors

Older homes often have plaster walls and ceilings, and it’s often necessary to repair these to maintain the integrity of the home. If the plaster is damaged, sound it with a hand to find the exact location of the problem. Ceiling damage is most likely caused by gravity, while floor damage is most often caused by moisture and wear. You can repair damaged floors by selective replacement.

It costs less than installing a air conditioning window unit

Window air conditioners are the more economical option, particularly if you have a small home and don’t need a large cooling system. They can be ordered online and shipped right to your door. Portable air conditioners are also an option. They look like giant dehumidifiers and are vented through the windows. Some also come with a built-in dehumidifier.

Air conditioning can be expensive, but you can install a window unit for less than $1,000. Although window units don’t last as long as mini splits, they are still cheaper and can be installed yourself. A typical window unit can cool a 1,000-square-foot room. They can range from two portable units to a large two-ton window air conditioner.

Another benefit to installing a window unit is the convenience and ease of installation. Most window units can be installed by a homeowner with minimal expertise. It’s important to ensure the window unit is insulated and securely fastened to avoid vibration damage. An Energy-Star-certified window air conditioner will provide the best performance and minimize energy consumption.


How Much Does It Cost To Hire A Custom Stone Mason?

Have you ever admired the beautiful stone walkways that people have outside of their homes? In many cases, these walkways were built by custom stonemasons. If you’d like to build a walkway like this, you may be wondering how much it would cost to hire a trained professional. Here’s how you can find out what you want to know.

Costs Can Vary Based On A Number Of Factors

Not every stonemason out there is going to charge the same rates. There are a number of things that can impact the cost of a service like this. For example, costs may vary based on the scope of the project. Materials used can also raise the cost. That’s why it makes more sense to get information on costs directly from the source. Talk to stonemasons in your area and find out what they typically charge.

You Get What You Pay For

You shouldn’t cut too many corners if you’re hiring a professional for a project like this. While there’s nothing wrong with trying to save money, you need to make sure that the person you are hiring is completely qualified for the job. If someone has limited credentials, you should try to work with someone that has more experience. You can find a list of custom stone masons by visiting a website. You must also understand that the average custom stone mason charges for their services per the hour. Knowing this, ensure you’rehiring the stone mason for a project that will be worth it for you.

Look For Ways To Save

If you’re quoted a price that is too high for you, you shouldn’t be afraid to negotiate. Some masons will be willing to work with you on pricing. Tell them what you are willing to pay, and see if they can work with your budget. What does it cost to hire a custom stonemason? While there are a lot of things that can influence the final price, this is certainly something that is worth looking into. Even if you’re working with a very limited budget, you should be able to find a stonemason that is willing to work for you.


How to D.I.Y. driveways

Driveways can add convenience, value, and visual appeal to any home. While hiring a contractor might be a scary thought, with the proper tools and some helping hands, it is possible to build your own asphalt, concrete, gravel, or pavement driveway. By taking your time and planning ahead, you can learn how to DIY driveways that will last for years to come.

The first step in learning how to DIY driveways is choosing the material you want to use. While installation of any type of driveway will have some common steps, there are benefits and disadvantages to many materials that will decide which is best for your driveway.

Choosing a Material Type

Gravel – This driveway type is one of the easiest to install. However, it will require regular maintenance and does not make for easy snow removal.

Asphalt – This driveway type requires working with high-temperature materials and a multi-step application process. It does not work as well in environments with heavy freeze and thaw cycles.

Concrete – This is the classic driveway seen on many homes. Installation requires proper timing and clear warm weather for the best results.

Resin – Provides easier installation than most methods with a good amount of flexibility. Great for nearly any climate or situation.

After choosing a material type, the next step in how to DIY driveways is the planning phase. By creating a complete plan before starting your build, you can save money on materials and labor while reducing the chances of any errors along the way.

Planning Your Driveway

Check local laws. Some areas will require specialized permits or require specific features to be included in your driveway. Determining these factors before starting can save potential headaches later.

Determine your needs. If you have a driveway on a hill or blind curve, a circular or cul-de-sac style driveway might provide added convenience. If you have multiple vehicles, a wider driveway can accommodate them without having to swap cars constantly.

Determine the best path. Using stakes and twine, mark off the intended path for your driveway. In ideal conditions, your driveway will slope away from the house to provide drainage.

Determine material costs and purchase supplies. Check with your local supplier for material availability and determine your needed supplies. Many stores will have experts on hand to help determine needs if you are unsure how to figure the numbers yourself. In general, you will measure the length, width and thickness of your driveway and multiply the numbers together. This will give you the volume of materials you will need.

At this point, all that is left in learning how to DIY driveways is getting your hands dirty. Installation will vary slightly from material to material. However, common steps include:

  • Clearing your path of top soil and debris
  • Preparing the soil
  • Packing the surface with a plate compressor
  • Securing your edging or forms
  • Pouring your materials into place
  • Allowing your new driveway to settle and cure
  • Sealing your new driveway

Tips for Specific Material Types

For asphalt driveways, you will have two layers of material to pour into place. The first layer is often a gravel base that must be packed tightly. Follow this with the standard asphalt mix.

For concrete driveways, running a broom lightly across the surface while it is drying will add texture and allow for better traction. Concrete driveways should be allowed three to seven days to cure before sealing.

For gravel driveways, choose multiple layers of gravel to provide a firm surface. Starting with a stone around 4 inches, create layers of smaller sizes until you reach the surface layer. Surface rock should be no larger than 1 inch.


Simple Steps to Follow Before You Start Your Interior Painting

Painting interiors of the home is one of the complicated tasks that most of the homeowners are afraid of. However, it would be difficult to live in the boring paint-less room. Painting is one of the most attractive and inexpensive ways available to enhance the look of your home. Painting your house with best colors can dramatically change the mood of you and also interior design of your home. Paint can give your interiors a soft look, or with a bold color, it can make a statement with splashes. Though House Painting is one of the easiest tools in the interior design world, there are plenty of things should be aware before you paint. Knowing these things can make your job much easier. In Fact, interior painting is a good DIY project that can lighten up a room in no time. However even there are few complications involved with it. Low level painting works can be pretty simple to spot as they indicate missed spots behind, tell-tale paint splatter signs and much more remarks. Here are few tips you have to take care while you start to paint like a pro.

Remove All The Wall Hangings

Never think that leaving your wall hangings on the walls and just painting around them would save your time as well as paint. Leaving the area can decrease the look by exposing your cut corner. In Fact, cutting in and painting around the wall hangings and wall posters is more time consuming than taking them off the wall and painting. House Painting without removing wall hangings can even increase the risks of damaging your painting beauty and decor. So, it is always best to remove everything off the wall and then to paint the entire surface. After removing all these hangings, protect all of them in a secured place so that you can bring back them into your finished room. Pack all the delicate pieces in a bubble wrap so that they don’t break. You can even remove the picture hangers and nails before you paint and can fill the holes with spackle. Make sure that this patch of color dry before you keep your next hanging at that place.

Take care of Furniture

Experts generally will not slip over dining tables or stretch back of sofa to paint. So remove the all the tables, chairs and sofas from the place in which you are going to start your painting job. This makes your job simple and will make you sure to take care of upholstery and wood with the spilled paint. Cover all your types of furniture with a cloth and move them to a safe area to make sure that your furnitures stay in a perfect condition to get back in your room that is newly painted. It is best to rent a storage unit or any storage container during your paintwork. If there is any item that is too heavy to move or that is too huge to get through the doorway, then move it to the middle of the room, cover it with a cloth or plastic cover and just keep them away from the walls that need to be painted.

By taking that extra time to prepare a room, anyone can meet professional-looking interior paint results. If you invest time, then your project will go smoothly and look beautiful.


Top Benefits of Painting your Exterior and Interior Walls of the House

Painting is one of the most easiest ways that help you to refresh or update your home as quickly as possible. From changing the color of your living room interior finish to painting a child’s room with lovely colors, painting is the best home enhancing strategy that is both cost-effective and provides immediate results. The benefits that home painting can bring to you and your family are various and varied. Along with enhancing the home’s interior, having a good paint coat on your walls can also keep your and your families healthy. Here are few benefits of a fresh coat of painting on your home walls that improve your home and living environment.

Enhances Building Functionality

Painting the building can significantly improve a wide range of building functional characteristics. Most of the building owners spend plenty of money in cooling and heating their homes. But instead of it, it is best to go for roof coating and white wall coating as provides reflectivity thus saving the energy you could have used to cool your home.

Rather than using just white paint, preferring IR reflective pigments that is new technology in the paint could make you to have a cool roof. This technology provides additives as well as pigments that could give good properties to paint that increases the aesthetic as well as functional properties of the surface. In the total, this painting can be structured in a way to offer all the required functional properties that are needed to provide solutions.

Offers Inexpensive Remodelling

Are you planning to give a new look to your home? Then, nothing is quite better than painting to refresh your home and to give a beautiful look to your living environment, just at a fraction of the cost of a remodel. Gallon of paint would cost you just around $20 to $60 per gallon and hiring a professional painter would cost you approximately $300 per room, and $1500 to $2000 for 1500 feet, based on the paint quality and the painting treatments kinds you have considered to your home. However, the total amount you spend on the painting will be very less compared to remaining remodeling methods.

Enhancing Appeal of Curb

Giving an soft paint coat to exteriors of the home and also to the other surfaces around the home could exponentially increase the appeal of the curb.


It is Economical and Keeps Dirt, Dust to a Minimum

Painting eliminates dirt and grime from becoming embedded into the surface. Paint help you to save more money that you spend on cleaning your home as painting the home prevents the weeds growth that need more money to avoid a. On the other hand, it’s easy for surface cleaning as paint protects the walls from the sustains. It keeps dust to bay and plaster in check. Particularly in plaster walls consisting of homes, keeping surfaces painted and interior walls, trim can keep dust and dirt at a minimum. For old construction houses or tough interior surfaces, it is better to  use high-quality paintings, like Kelly Moore or Benjamin Moore.


Top Reasons to Paint Your House

Painting your house would be one of the best enhancements or investments you can make for the look of your house with the immediate results. Most of the homeowners believe that painting the home is the only way to apply to increase the cost, while they want to put their property up for the sale. However, homeowners should realize that there still exists many benefits by painting a house other than painting only when they intend to sell it. If you are also the one of the many owners and if you have the doubt that whether the value of a painting your house is worth the investment, then the following points would provide you with the best answer for it:

Painting minimizes dirt and dust buildings

You can also enhance the look of old properties and can actually make them to look by painting and making them afresh with the right and bright colors. It last removes the dirt and dust from your house. So it is best to consider hiring expert painters to give a awe look to your house by painting.

Protects the house exteriors from natural elements

By coating the exterior with a fresh paint, you could actually get more benefits them just the good look. High-quality exterior paint provides an added layer of protection to house from the elements that helps to keep your home safe from the weather damage, dust and insects. The paint can even prevent the rotting of exterior wood.

Enhances the value of property

You would have obviously invested pretty little required amount on your home look, so you want to be sure that the home look and value doesn’t diminish for coming years. The best way to secure the look or to potentially increase the home’s value is to keep its exteriors fresh and sharp.

Repairs the damage

In addition to solving the issues, a decent paint coat will also help you to identify the huge issues related to your house exterior that would not have been already noticed. Working on repainting the home can bring to notice the array of little flaws ranging from mildew, mold, and water stains to wood rotting that occurs because of weakened paint.

Improve the curb appeal of your home

If you are sprucing up your house to improve the curb appeal for the buyers, then the most important and effective action you have to follow to paint your home’s exterior very well.  Every action that goes along with the exterior painting of your home equals to ending up with the beautiful look you can put out for your house. People who are planning to buy a new home always takes their decision – whether or not they want to look the home inside based on what the outside looks like.  Its because if the house has a dingy looking paint or peeling paint, or a missing trim at the exterior, then it is is not worth viewing inside as exterior decides the status of the house; that’s the reason, most of the potential buyers would just drive by seeing outside instead of going in. There are plenty of things you could follow to enhance the appeal of the curb. However, among them, none could be equal to the exterior painting, mainly if you can choose the best colors with the most appeal.  One of the studies revealed that the most popular colors for homes to look beautiful are neutrals such as tan, blue, gray, white, and brown. Even the bright colors such as blue and red are the best colors, when they are used as accents, such as on the window shutters or front doors.